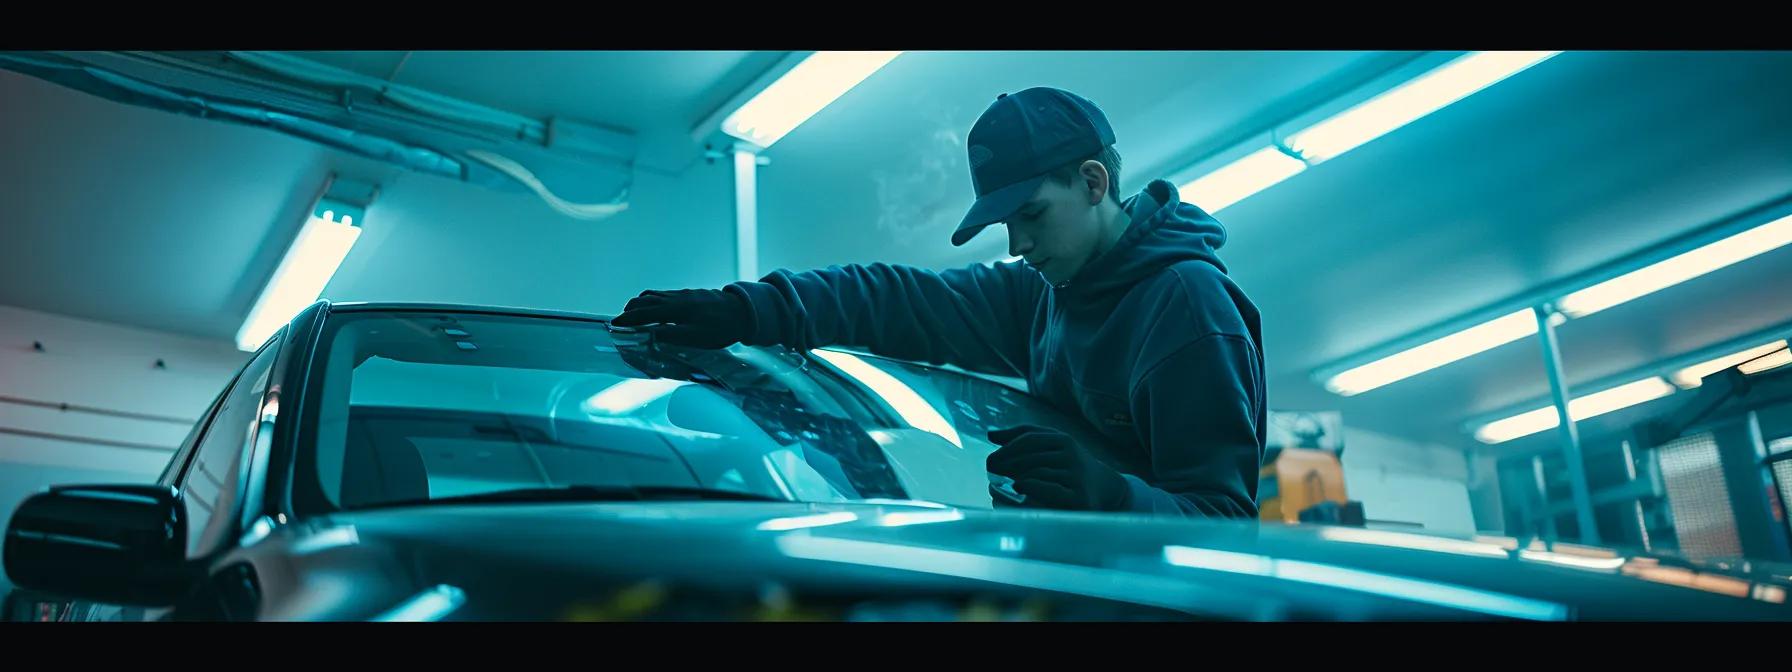
Types of car window tint
I live in the Dallas Fort Worth area and there are several places near me that provide window tinting service. They all seem to offer a variety of tint and provide mobile or in-shop service which is pretty convenient. The ones I reviewed also had great Better Business Bureau ratings which makes it a little difficult to know which company to hire. After finishing my research, I decided to write this article to help others understand the different types of tint available and which provides the best UV protection.
During my research, I found there are 4 different types of window tint available, but not all of them are used on cars. The first three are called “metalized”, which is a thin plastic film coated with metal particles. The benefit of the metal coating is that it can be applied over any material, including your car’s existing window tint. Installing on top of old tint should be avoided in my opinion. The other two types do not use a metal coating but are good for specific purposes due to their unique properties. I’ve provided some additional details for each type below.
- Metalized – Essentially a clear film with a metal coating. In the past, this was used on windows to block out heat and glare while allowing light transmission. The metal coating provides a uniform appearance and also has some insulating properties to keep the interior of the car cool.
- Dyed – A thin film of plastic with a colorant added to it. The benefit of this tint is that it retains its color and doesn’t fade from the heat or sun.
- Hybrid – This type of tint is between a dyed film or a mirrored film. It has the look of sunglasses with a tinted privacy layer that blocks out UV rays and glare while allowing light transmission.
- Carbon – This is the type of film you used to see on the windows of cars during the 80’s. It has a slightly greenish blue hue but provides no UV protection. Carbon window tint was very popular due to its “cool” look, cheap price and ease of application. Today, style-wise it seems like you have to be at least 40 years old to drive a car with carbon tint.
Tint shades and color chart
The shade levels of window tint are measured in percentages. The lower the percentage, the darker and more reflective the window film becomes. Tint shades are expressed as a single-digit number from 1 to 9. For example, 5% is expressed as “5”. 20% would be “20”. This means that at a shade level of 20%, light transmission in the visible range is 20% of the light that gets through the tint. The most popular type installed on cars is usually between 5% and 20%.
The tint chart below will give you an idea of how dark each percentage level is when looking through them. Colors on the graphic are represented in a close approximation to actual shades for easy comparison.

When looking at the chart above, it’s easy to see that 70 percent will let in quite a bit of outside light. While 5% will only let 5 percent of light through. Tint levels around 20% can be difficult to see through at night so be sure to think of safety when picking your tint level. There are roughly 50 shades available, but the 5 displayed above are the most common levels installed today.
What’s legal?
Each glass on the car has a regulation for the minimum amount of visible light that needs to enter the car. By law, the windshield is required to allow at least 70% light transmission. The front door windows are supposed to have a minimum of 35% which means you should really stay between 35% and 70% to be within the law. For safety purposes, it is recommended that you choose something in this range anyway.
For the rear window, 35% is the minimum allowed but I’d recommend going a little darker than 35% to avoid being seen easily from the rear. This also helps cut down on the amount of light from bright headlights when someone is following you at night. Looking in the rearview mirror at a pair of bright halogens can briefly impair your vision if you don’t have an automatic dimming mirror. I recommend staying below 20% for the back glass.
Window tint prices?
The average cost for window tint ranges from $50 to $200 for two doors. I found several shops around Dallas and Plano Texas that were charging $125 for just the front 2 side windows.
The average cost of tinting four doors is about $200 to $450. Window film jobs can vary in price due to the difficulty of the job. This makes it hard to give you an exact cost, but you can expect to pay upwards of $500 for the entire car in most states.
What about tinting my windshield?
By law, most states don’t allow the front windshield to be tinted. However, most will allow for a strip of tint at the top of the windshield. The strip can not come down more than 12.5″ from the top of the windshield in most states.
This is an optional and legal way to darken your front glass and provide some additional UV protection for the interior dash and seats. Tinting the top part of your front glass will also help with any glare or heat. You can also have a 1″ strip in the lower part of your windshield that has 70% tint. Make sure to check with your state laws before you start tinting the front windshield of your vehicle.
Window tinting kit
Should I hire a professional or buy a kit and handle the installation myself? If you’re into DIY projects and have the time, there are plenty of window tinting kits available online. These items are inexpensive (usually around $20 to $30) and all you need is some basic tools.
10 Installation steps
Below are the steps to follow for installing film on your car windows. Make sure your windows are cool before starting.
- Step one – Clean the glass really well with a non-ammonia based cleaner and lint free cloth.
- Step two – Wet the outside of the glass with soapy water then place the tint on it. You’ll need to remove the backing from the tint in a later step so be sure to leave it facing outward during this step.
- Step three – Cut the tint so it fits the glass. I typically use a razorblade and recommend cutting one inch larger than necessary to allow for a good fit. Some people find using a heat gun will help them get the film to adhere to the glass well and prevent wrinkles. I’ve used it on small curved windows which helped it shrink into the correct shape.
- Step four – Remove the backing from the tint.
- Step five – Wet the inside of the glass.
- Step six – Move the tint on to the inside of the glass. Be sure newly exposed backing is placed on the wet glass.
- Step seven – Position the tint and use a squeegee to smooth out the finish. Be sure to start from the top center and work you way out to the edges.
- Step eight – Use a razor to remove any excess tint.
- Step nine – Use a lint free cloth to dry off the excess water.
- Step ten – Run your fingers along the inside window and remove any remaining bubbles. When you’re done, wipe out all of the dirt from this area with a clean rag or paper towel.
The steps above are tailored toward the door windows. The back glass can be a little more difficult since it’s curved. However, the same principles still apply. Clean off the glass and wet it before adding tint. Also, make sure you use a squeegee to smooth out wrinkles in the film after it’s installed. The rear defroster can cause bubbles if the tint isn’t installed properly which is why I recommend hiring a professional for the installation.
Why are there bubbles?
Tiny bubbles usually won’t cause problems. However, if you have large bubbles or multiple small ones in one window it’s best to remove them. If they don’t get removed before they dry then the tint will look uneven and have a greater chance of peeling later.
Tip: Tiny bubbles can sometimes be removed by shrinking the tint with a heat gun. However, if that doesn’t work you can use a small needle to poke the center of the bubbles. Again, you’ll want to remove any visible bubbles quickly before they have time to adhere to the glass.
How to remove old window tint in 4 easy steps
If you have old tint on the glass, you’ll need to remove it prior to installing more. Most professional tint shops will do the removal for you, but if you’re doing it yourself here’s how to go about it.
Step one – Remove any door panels on your vehicle and lay a tarp down. You’ll need to cut into the back or side of the window with a razor blade in order to remove the tint properly. Make sure you wear gloves and eye protection when cutting the tint. Angle the razor blade at 45 degrees to avoid scratching the glass. Use some sandpaper to smooth out any rough spots where the film was attached.
Step two – Wet a towel with soapy water and lay it over the tint. You can also use a steam iron to heat up the film if you want which can help loosen it. After a few minutes lift the edge of the towel or iron to check how well it’s coming off. Continue heating up spots until all of the film is removed.
Step three – Clean the area multiple times with soap and water to ensure all adhesives are removed. Rinse with clean water afterward.
Step four – Make sure you allow enough time to air dry before applying new tint. You can help this process along by using a hairdryer on low heat and following up with some paper towels.
Conclusion
Window film is definitely inexpensive and can be a great way to add style to your car or truck. It’s not too difficult to install so why not give it a try? The steps and video above should be a great starting point for any DIYer. However, most tinting shops have special cutters in-house that are programmed to cut the tint so it matches the glass on your vehicle perfectly.
Hiring a professional is a great way to go if you’re not comfortable performing the job on your own. Most companies will even provide mobile service to your home or office which makes it super convenient. Be sure to shop around, get references, and ask about warranty services before hiring a local tint shop.
If you found this article helpful, please consider sharing it with your friends. Also, let us know if there’s an article you would like to see on our site and we’ll do our best to get it added to our articles section.


