Detailing a Car
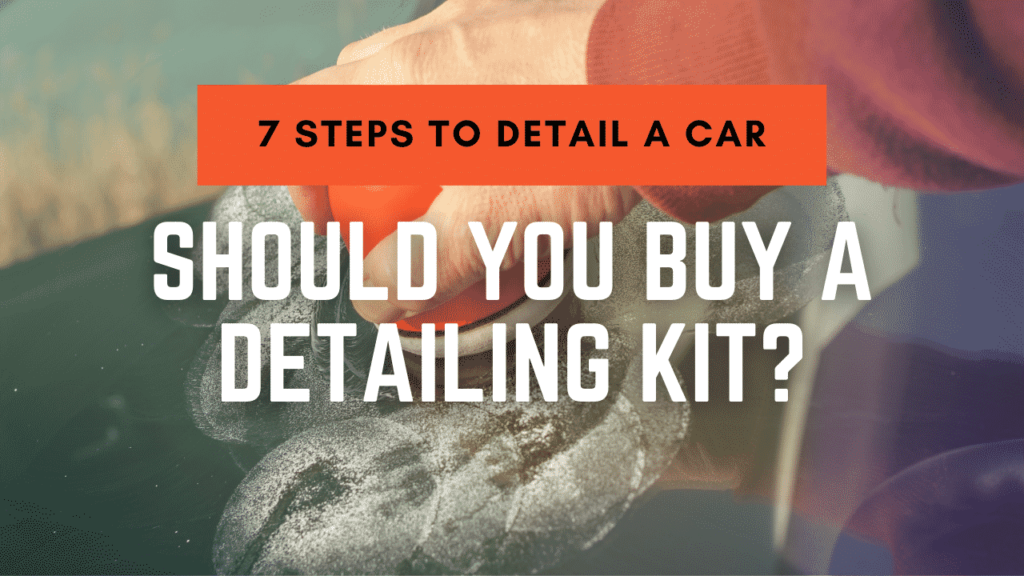
Your car windshield isn’t the only thing that needs to be maintained. Washing and detailing is a great way to maintain your automobile’s appearance. However, it can be tricky to detail a vehicle and know what products are best for detailing a car. Today we’ll talk about seven steps you should take when detailing a car and what products are included in a car detail kit!
DIY or Pay a Professional Detailer?
This depends on your time and if it’s a particularly oxidized or heavily scratched vehicle. If you’re short on time, using a professional detailer is always the best option since it’ll save you the trouble of scrubbing every inch of your car or possibly creating additional problems like swirl marks from doing things incorrectly!
I personally like to avoid my average workmanship and have a full-service carwash or detail shop do the work to ensure the best-detailing service possible. The cost is a bit more than buying materials and doing it myself, but I’ll be more satisfied with the results.
If you prefer to save money and have the time and patience to detail your own car at home, then go for it! It’s always cheaper than having someone else do the work. Plus, with this tutorial on detailing a car, there won’t be any reason not to try this DIY method out yourself.
I’ve included a shortlist of the products needed to perform the waxing process by hand using pads and microfiber cloths. You may also need to invest in a high-speed buffer or an orbital polisher to help remove light scratches or oxidation. If I do the work myself, I typically prefer an orbital polisher to reduce wear and tear on my body. Detailing a car can be tough if you do it all by hand, so using a machine definitely makes it easier.
What Should Be In A Detailing Car Kit?
The supplies below should be included in most automotive kits for cleaning and detailing a car. I’ve added a small description for each item to show what it should be used for when cleaning or detailing a car.
- Liquid Soap – To clean and prep the exterior.
- Wash mitt – Cloths or mitts are used for washing and drying exterior panels.
- Application Pad – For applying the polish.
- Microfiber Cloth or Towel – For easy polish removal.
- Clay Bar – For removing harsh surface contaminants.
- Heavy Duty Rubbing Compound – Used for heavy scratch removal.
- Polish – Used for light scratch and oxidation removal.
- Sealants – Used to provide additional surface protection when the job is finished.
- Paint Protection Film – This is an optional product and helps protect against small projectiles while driving.
What Are The Complete Steps For Detailing A Car?
Avoid using the wrong approach when removing stubborn road contaminants from your car’s metal or fiberglass panels. Follow the steps below for the best solution when detailing a car! We guarantee you’ll be happy with the end result.
- Remove Dust – Start by filling a bucket with water and some quality liquid soap. Then use a wash mitt to scrub the exterior to eliminate debris. This step should help eliminate dirt, grime, bugs, mud, or anything else that might have been splattered on the vehicle.
- Rinse – Now that the surface is washed and a lot cleaner, it’s ready for the next step or procedure, which involves a little clay.
- Clay Bar – There are two types of clay bars to use: a “light” bar and a “heavy duty” bar. The light one is used on lighter paint jobs, as it won’t pull off too much material from the surface. The heavy-duty version is best for dirty cars or neglected paint surfaces. The clay bar will help remove paint overspray, tar, tree sap, and most other harmful substances that cause a faded appearance. Spray water on the panels and rub them until all the contaminants are gone and it feels super smooth. This process removes any protective wax on your car, so you’ll need to complete the polish and sealant steps below.
- Heavy Duty Rubbing Compound – Rubbing compounds will visually reduce scratches and “swirl marks” from light-colored cars but should be used with care on dark or black cars since overuse or misuse can damage the finish. Apply a coat using a high-speed buffer, then rub it off manually. Note: Never leave the buffer in one spot on the car’s paint for more than a few seconds, or you could burn the coating and discolor the appearance. If that happens, you’ll need a paint job to restore the paint.
- Polish – Polish removes fine scratches in clear coats and restores the gloss. Use an applicator pad to apply in small sections, then wipe the polish off after it’s dry. Don’t make the mistake of covering the entire car with polish and then attempting to remove it after it has dried. This is not easy and will only frustrate you. I usually section off the panels when applying polish. For example, I’ll polish one door, then each half of the hood separately, and continue moving around until the entire car has been polished. This will ensure nothing dries too much, which would make it hard to remove with towels alone. Be sure to follow up with a sealant product after polishing for additional protection and longevity of your car’s paint.
- Sealants – Once you’ve cleaned, polished, and re-polished your car’s finish, it’s time to apply a layer of protection that will resist moisture and UV rays that cause damage to the factory clear coat finish. Sealants also provide a deep, “wet” shine that will last for months. Follow the steps listed in number 5 above unless you use a spray wax sealant. Then you would mist on the sealant and wipe it off after a few minutes.
- Paint Protection Film – Paint protection film (Clear Bra) is the best way to protect the paint on your automobile’s front bumper and hood. The clear protectors are designed to deflect rocks, preventing chips and stopping bug juice from sitting on the paint too long and baking in. This barrier also keeps out dirt, salt water, and other contaminants that can cause significant damage over time. The paint film can also be removed and replaced when worn out.
Please note: This is an optional step in the process and is usually only applied to the front bumper and a small edge of the hood. In the past, a car bra would be used for this type of protection, but having a clear version is much less noticeable and better looking, in my opinion.
Now that you know the entire process professional detailers follow and what should be included in a car detailing kit, you’re ready for your first detail! Be sure to follow each step and take your time. When you’re finished, I guarantee you’ll be happy with the beautiful results.
It’s important to stay on top of your detailing service. Regular quarterly treatments will ensure the condition of the paint remains shiny and oxidation-free for years to come! Don’t forget to clean the windows to match your new clean car. No one likes driving around in a clean car with dirty glass.
I hope my articles are helping you learn more about maintaining your vehicle’s appearance, and I would love to hear feedback on the ones you’ve read. In my next article, I’ll cover how to fix cracks in leather car seats so they look and feel new again. Here is a before and after pic of the seats I restored in my 2010 Volvo C70. I also changed the color a bit for a new look.
If you have a specific topic you want to see us cover, visit our contact page to send us a message today! Check out the car wax guide I posted previously to help select the best protectant to clean and restore your vehicle.


