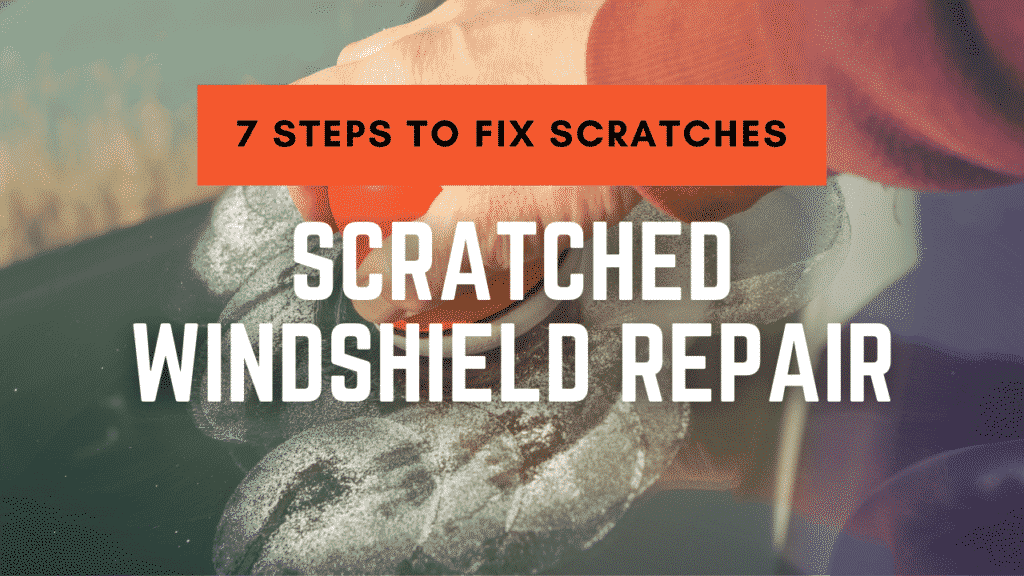
Scratched Windshield Repair
From my experience, I’ve listed some of the best scratched windshield repair methods using products readily available in most homes. These should help you efficiently perform a scratched windshield repair on most minor scratches! However, you may need a replacement depending on how deep the scratches are in the glass.
We’ll cover an easy groove test later that I use to help determine if an entire windshield replacement is needed. After reading this article, you’ll understand which deep scratches aren’t repairable and effectively understand how to remove light scratches.
How did your automotive glass get scratched?
The front windshields on a car are rugged and designed to protect you and your family from outside debris while driving. So how does a tough windshield end up having minor scratches? Below are some everyday things that could ultimately scratch the windshield.
- Old worn-out windshield wipers – Old damaged wiper blades will sometimes turn hard or lose the rubber, which can expose the metal wiper arm to the glass and cause minor scratches in the top layer of glass if turned on.
- Improper removal of ice – Colder regions of the world can cause ice to form on the windshield, and old or damaged scrapers and tools not designed for ice removal can easily scratch the glass. I like using liquid deicer to avoid this from happening. A mix of 4 parts rubbing alcohol and 1 part water in a spray bottle melts ice too.
- Rocks from the road – If a rock hits the window at a high rate of speed, it could scratch the glass and crack it. Check out our windshield repair page for additional details if you need a chip fixed. On the other hand, the rock could also get caught under the wiper blade and cause a scratch if not removed before turning them on.
Removal steps for scratched windshield repair
This short guide discusses how to properly perform a scratched windshield repair with a few simple items you may have in your home. The process takes 5-10 minutes to prep the surface and 20-30 minutes to complete it.
Step 1: Find the correct supplies. The three methods below are easily accessible and work well to remove scratches in the front windshield and are typically found in most homes. However, if you don’t have these items, they are readily available at convenience stores.
- Nail Polish: Acrylic nail polish works very well for a shallow or fine scratch. Just be sure it’s clear and not pink!
- Baking Soda: Baking soda isn’t as good as nail polish, but it will help eliminate windshield scratches.
- Toothpaste: Using toothpaste is the least preferred option since it’s not as good as the first two and may require multiple attempts. Non-gel toothpaste works best, and it doesn’t matter if it’s white or not. You’ll be amazed at how well a dot of toothpaste works to remove scratches.
- Rubbing Compound: The abrasiveness of toothpaste is good, but nothing compares to automotive rubbing compounds. These are super gritty and designed to remove oxidation and scratches from paint, so it’s perfect for removing scratches from glass. My favorite is 3M Super Duty Compound. There’s no need to buy a commercial-grade polishing compound unless you want to invest in something to remove heavy oxidation from the car’s surface effectively.
Step 2: Clean the area around the scratch with a glass cleaner or soap and water. Cleaning the windshield with soap will remove any dirt or debris on the surface that could cause more damage and obscure visibility.
Step 3: Cover the surrounding area with newspaper, paper towels, or masking tape to avoid contamination from other surfaces and materials.
Step 4: Tape off sections of the windshield that are not scratched; this prevents new scratches from happening while you work on fixing these.
Step 5: Apply one of the compounds to the scratched area. Rub the scratch in a circular motion with a dry lint-free cloth to polish and remove the scratches. For harsh scratches, you might need to use a polishing wheel.
Step 6: After polishing out the scratch. Open the nail polish and apply a thin layer over the area with an applicator brush or toothbrush. After application, remove any excess polish altogether.
Step 7: Allow drying for about 15 minutes, then lightly polish the damaged area again.
If the scratches are still visible after filling them, repeat the instructions above or reach out to an expert for help with the scratched windshield repair.
Tips to Avoid a Damaged Windshield
Tip 1 – Stay about 15 feet back from the vehicle in front of you to prevent rocks from hitting the glass when they fly off the car’s tire in front of you. The closer you get, the greater the chance it will happen again.
Tip 2 – Keep a soft cloth or clean rag inside the car. Use the cloth to wipe off dirt and other debris that may cause scratches if not removed.
Tip 3 – Check under the wiper arm and remove small debris that could scratch the glass.
The Nail Test!
Depending on the severity, sometimes the scratches are too deep and require a shop owner with special tools to complete the repair. If you can run the back of your fingernail across the scratch and feel deep grooves, then it’s probably time to contact a professional. A windshield chip repair technician will have the required tools for removing deep windshield scratches and minor chips or cracks.
Let’s Recap
Repairing minor windshield scratches is not that hard, but you need to have the right equipment and know-how to use it. Let’s recap!
- Prepare the surface of your windshield by cleaning it with soap and water.
- Scrub away any dirt or debris from the scratched area before you start repairing anything else.
- Apply your choice of abrasive to all areas that need fixing.
- Finish up with a coat of nail polish.
Let’s Talk
If further assistance is needed, we’re always happy to help and would love to hear from you. So call now to speak with one of our friendly auto glass experts if your damaged windshield has more than a few minor scratches.


